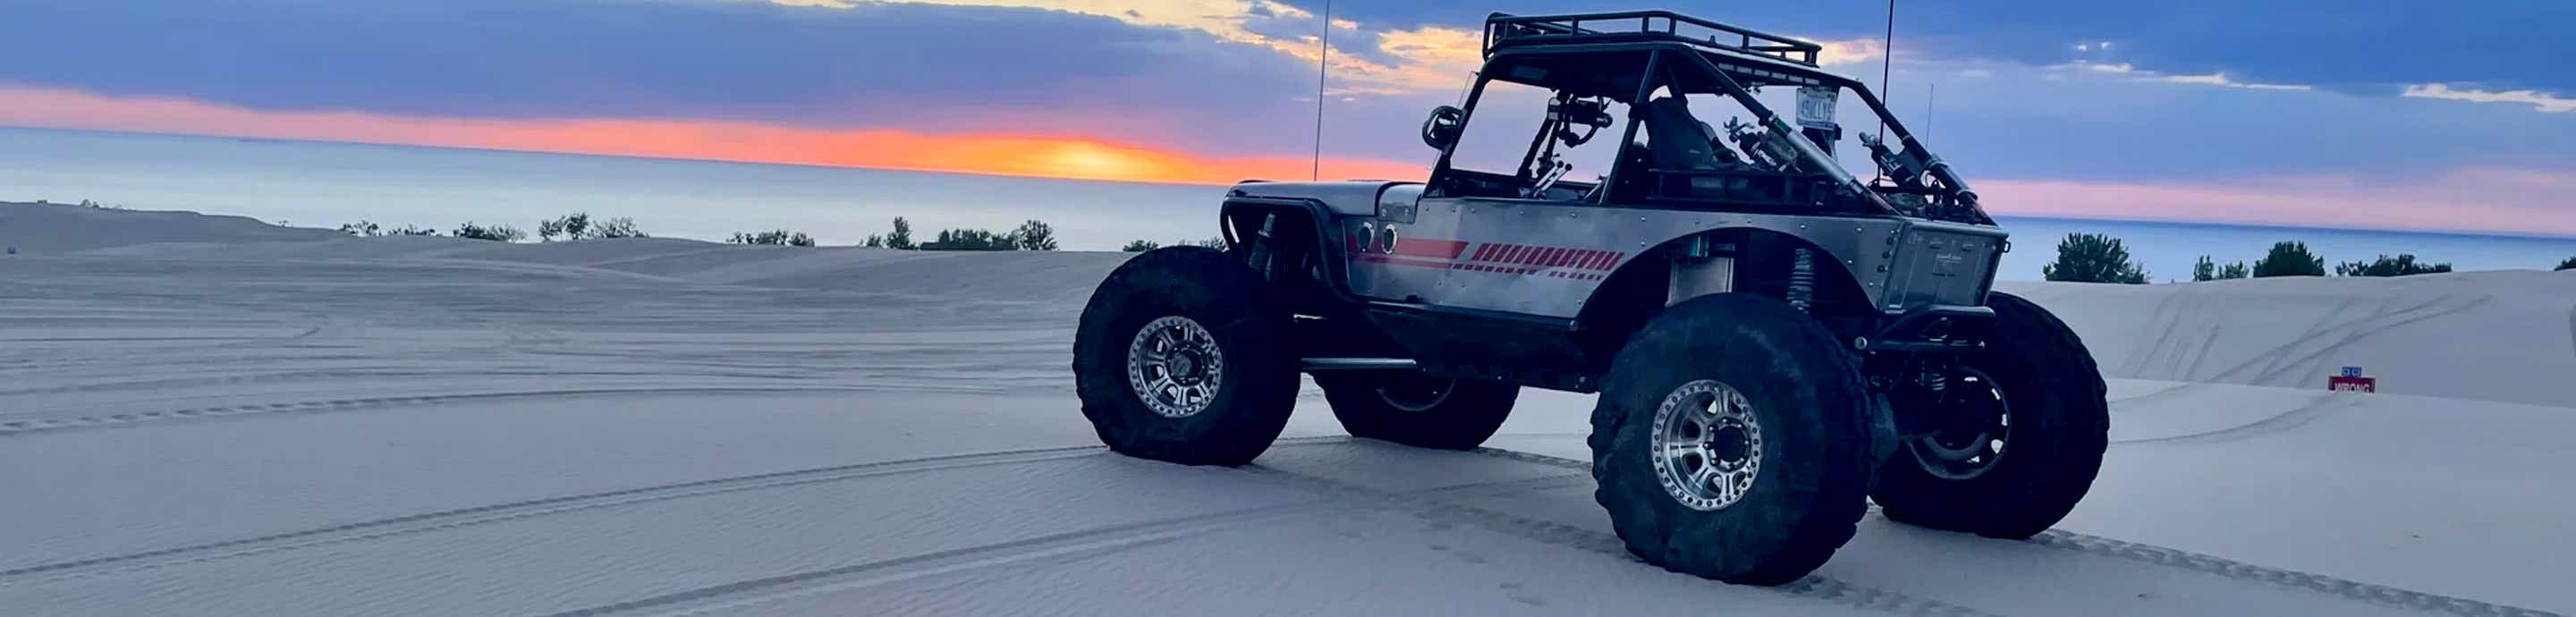

9/4/18: New tub (post 75)
1/25/19: New drivetrain (Kingpin 60, 14b, 5.3l LS, 4l60e, Atlas II, and rear 4 link) (post 102)
Hi everyone, this is my first thread. I'm 13 and just got my first jeep!!
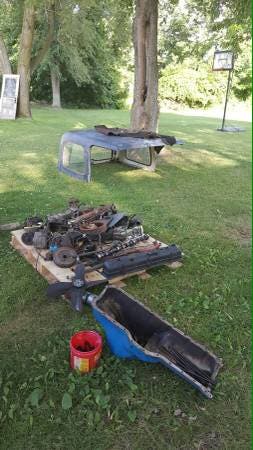
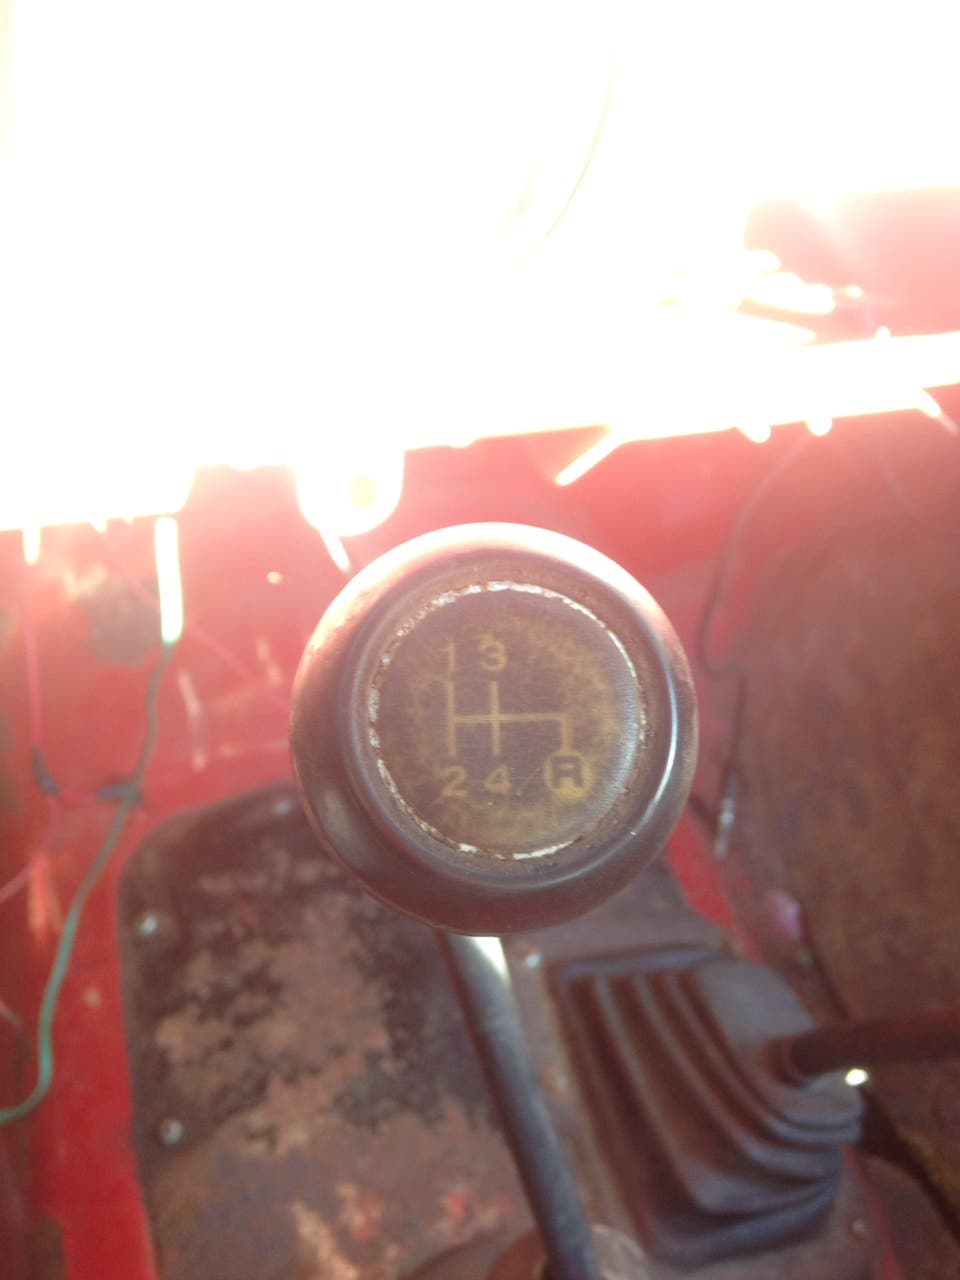
The jeep is a 1984 Jeep CJ7, disassembled inline 6 and 4 speed. The jeep is in pretty rough condition and needs a lot of work. Along with repairs, build plans include:
05+ Super Duty Dana 60
05+ Sterling 10.5
3 link front
XJ rear leaf springs
Chevy 350
SM465
NP205
Aluminum Super Duty wheels
37” Cooper STT Pros
![Image]()
![Image]()
![Image]()
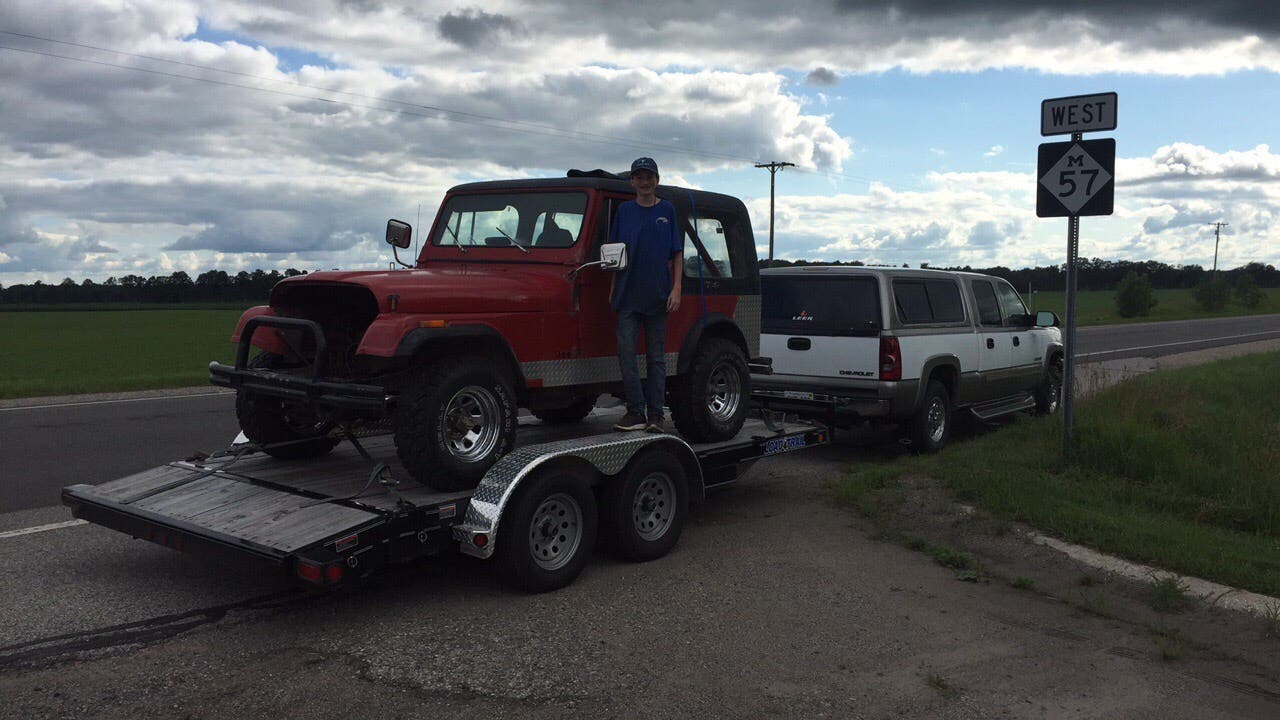
All loaded up and ready to go home!!
![Image]()
Sent from my iPhone using Tapatalk Pro
1/25/19: New drivetrain (Kingpin 60, 14b, 5.3l LS, 4l60e, Atlas II, and rear 4 link) (post 102)
Hi everyone, this is my first thread. I'm 13 and just got my first jeep!!
The jeep is a 1984 Jeep CJ7, disassembled inline 6 and 4 speed. The jeep is in pretty rough condition and needs a lot of work. Along with repairs, build plans include:
05+ Super Duty Dana 60
05+ Sterling 10.5
3 link front
XJ rear leaf springs
Chevy 350
SM465
NP205
Aluminum Super Duty wheels
37” Cooper STT Pros
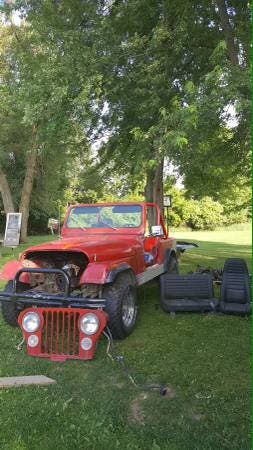
All loaded up and ready to go home!!
Sent from my iPhone using Tapatalk Pro


